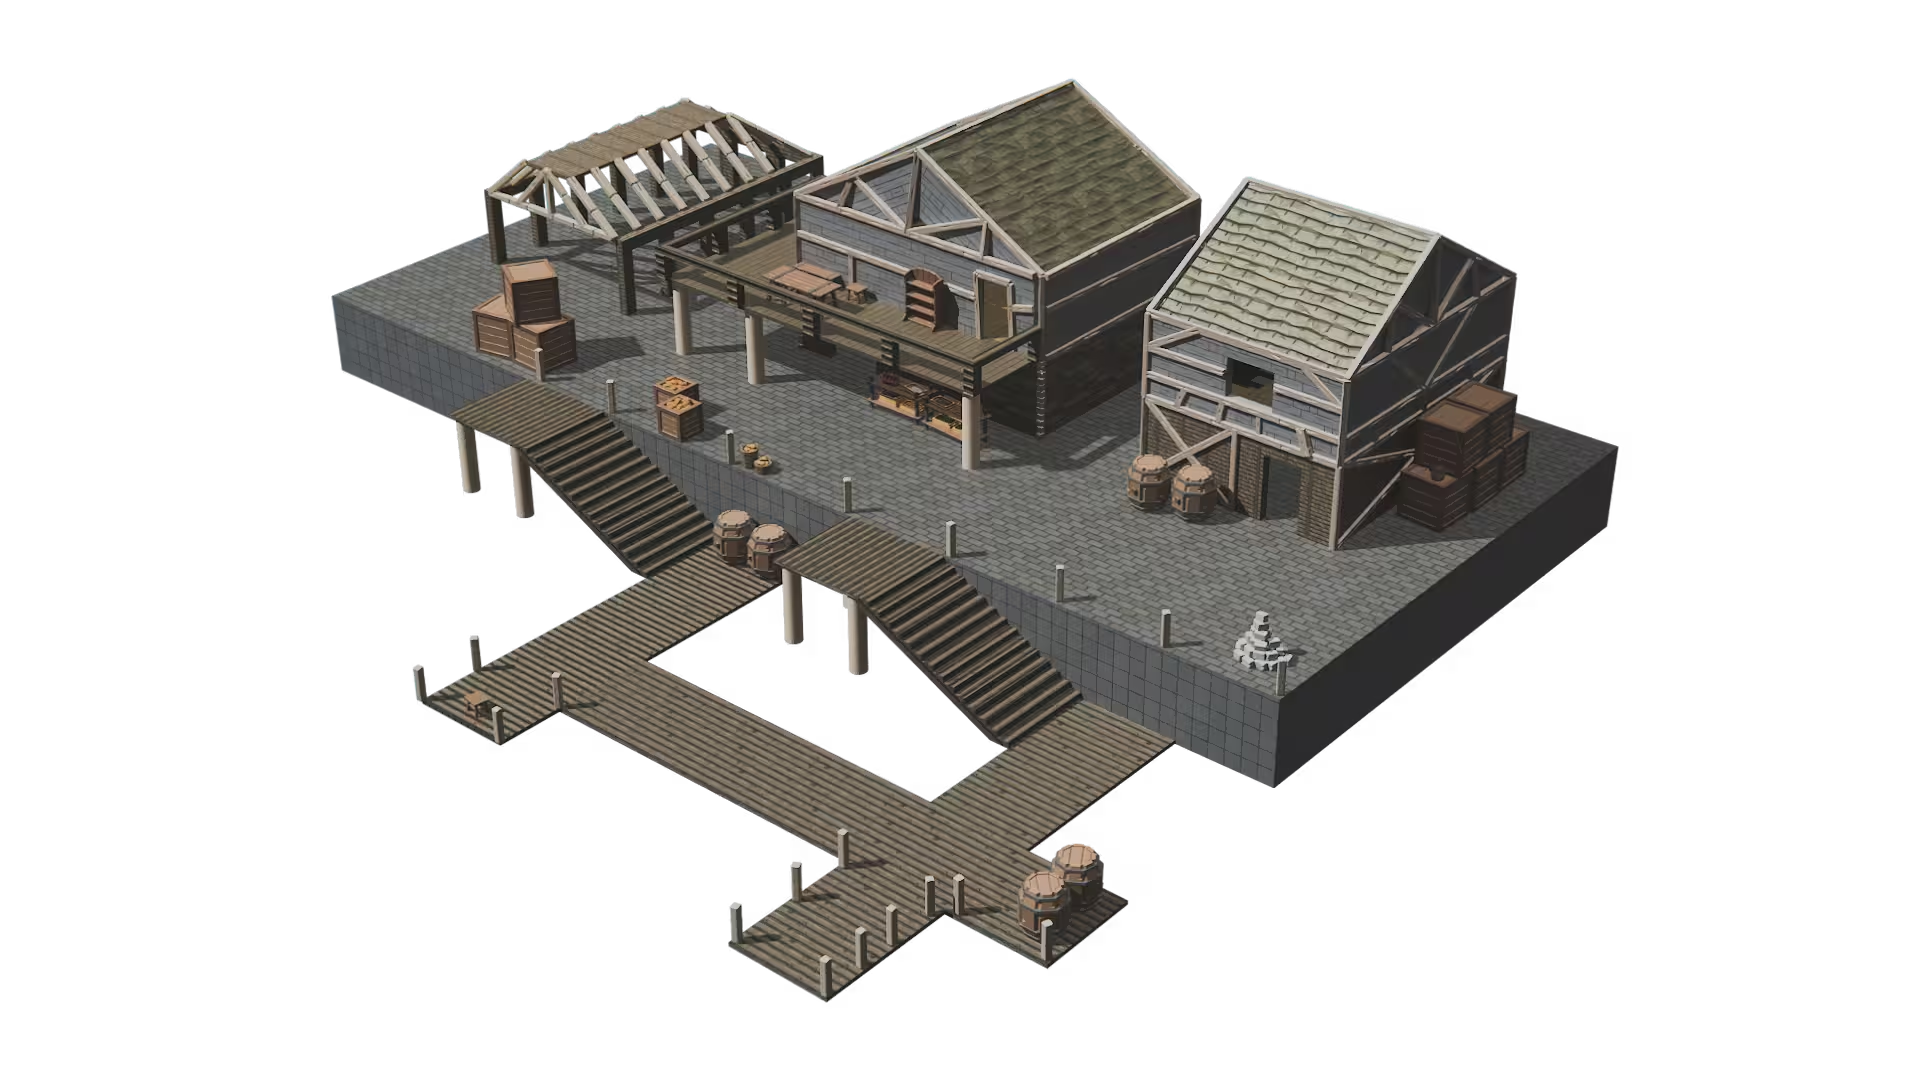
Level design in Cygon
Instead of throwing a list of buttons at you, let’s build a multi-level environment from scratch. This guide follows the exact natural workflow of creating a map in Cygon, demonstrating how our tools seamlessly collaborate to manage layout, verticality, and structural links.
Laying the Groundwork (The Base Layout)
Every great level starts with a solid foundation. Your first goal is to map out the ground floor without fighting the camera or technical clutter.
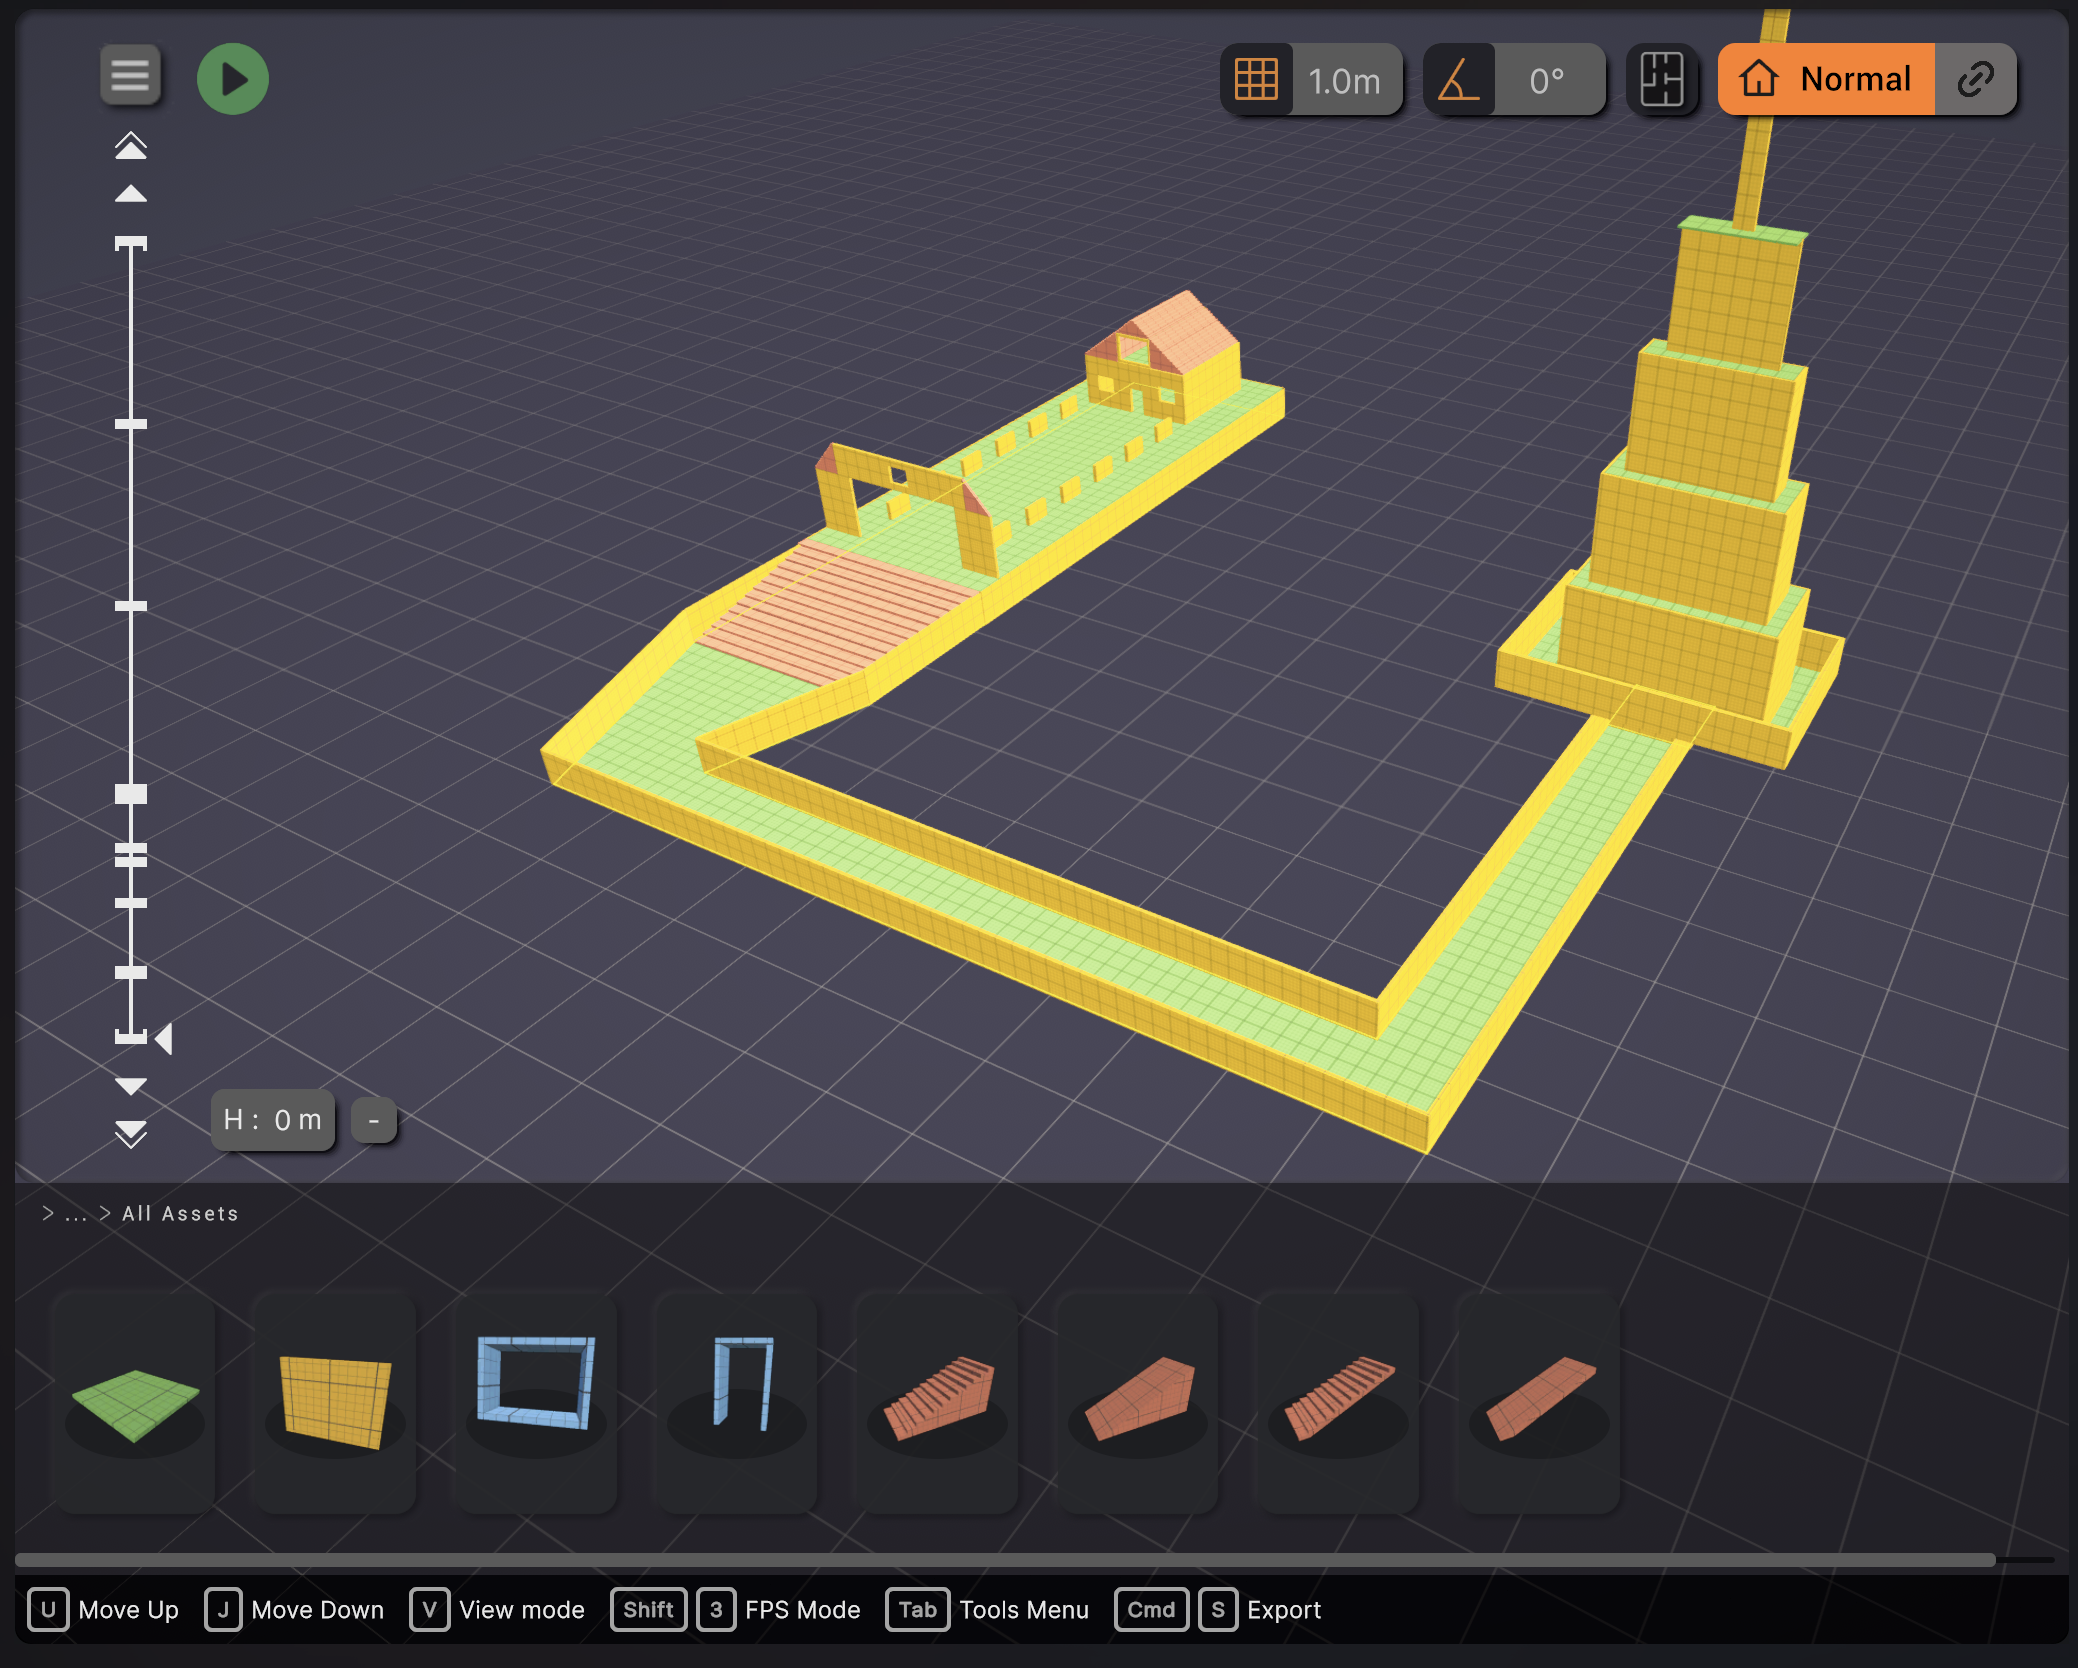
- Set Your Focus: Look at the central workspace header. Ensure the Overview Interface is toggled on (Green Active Status). This tracks your viewport to the local grid origin, keeping your camera anchored to your primary structural layer.
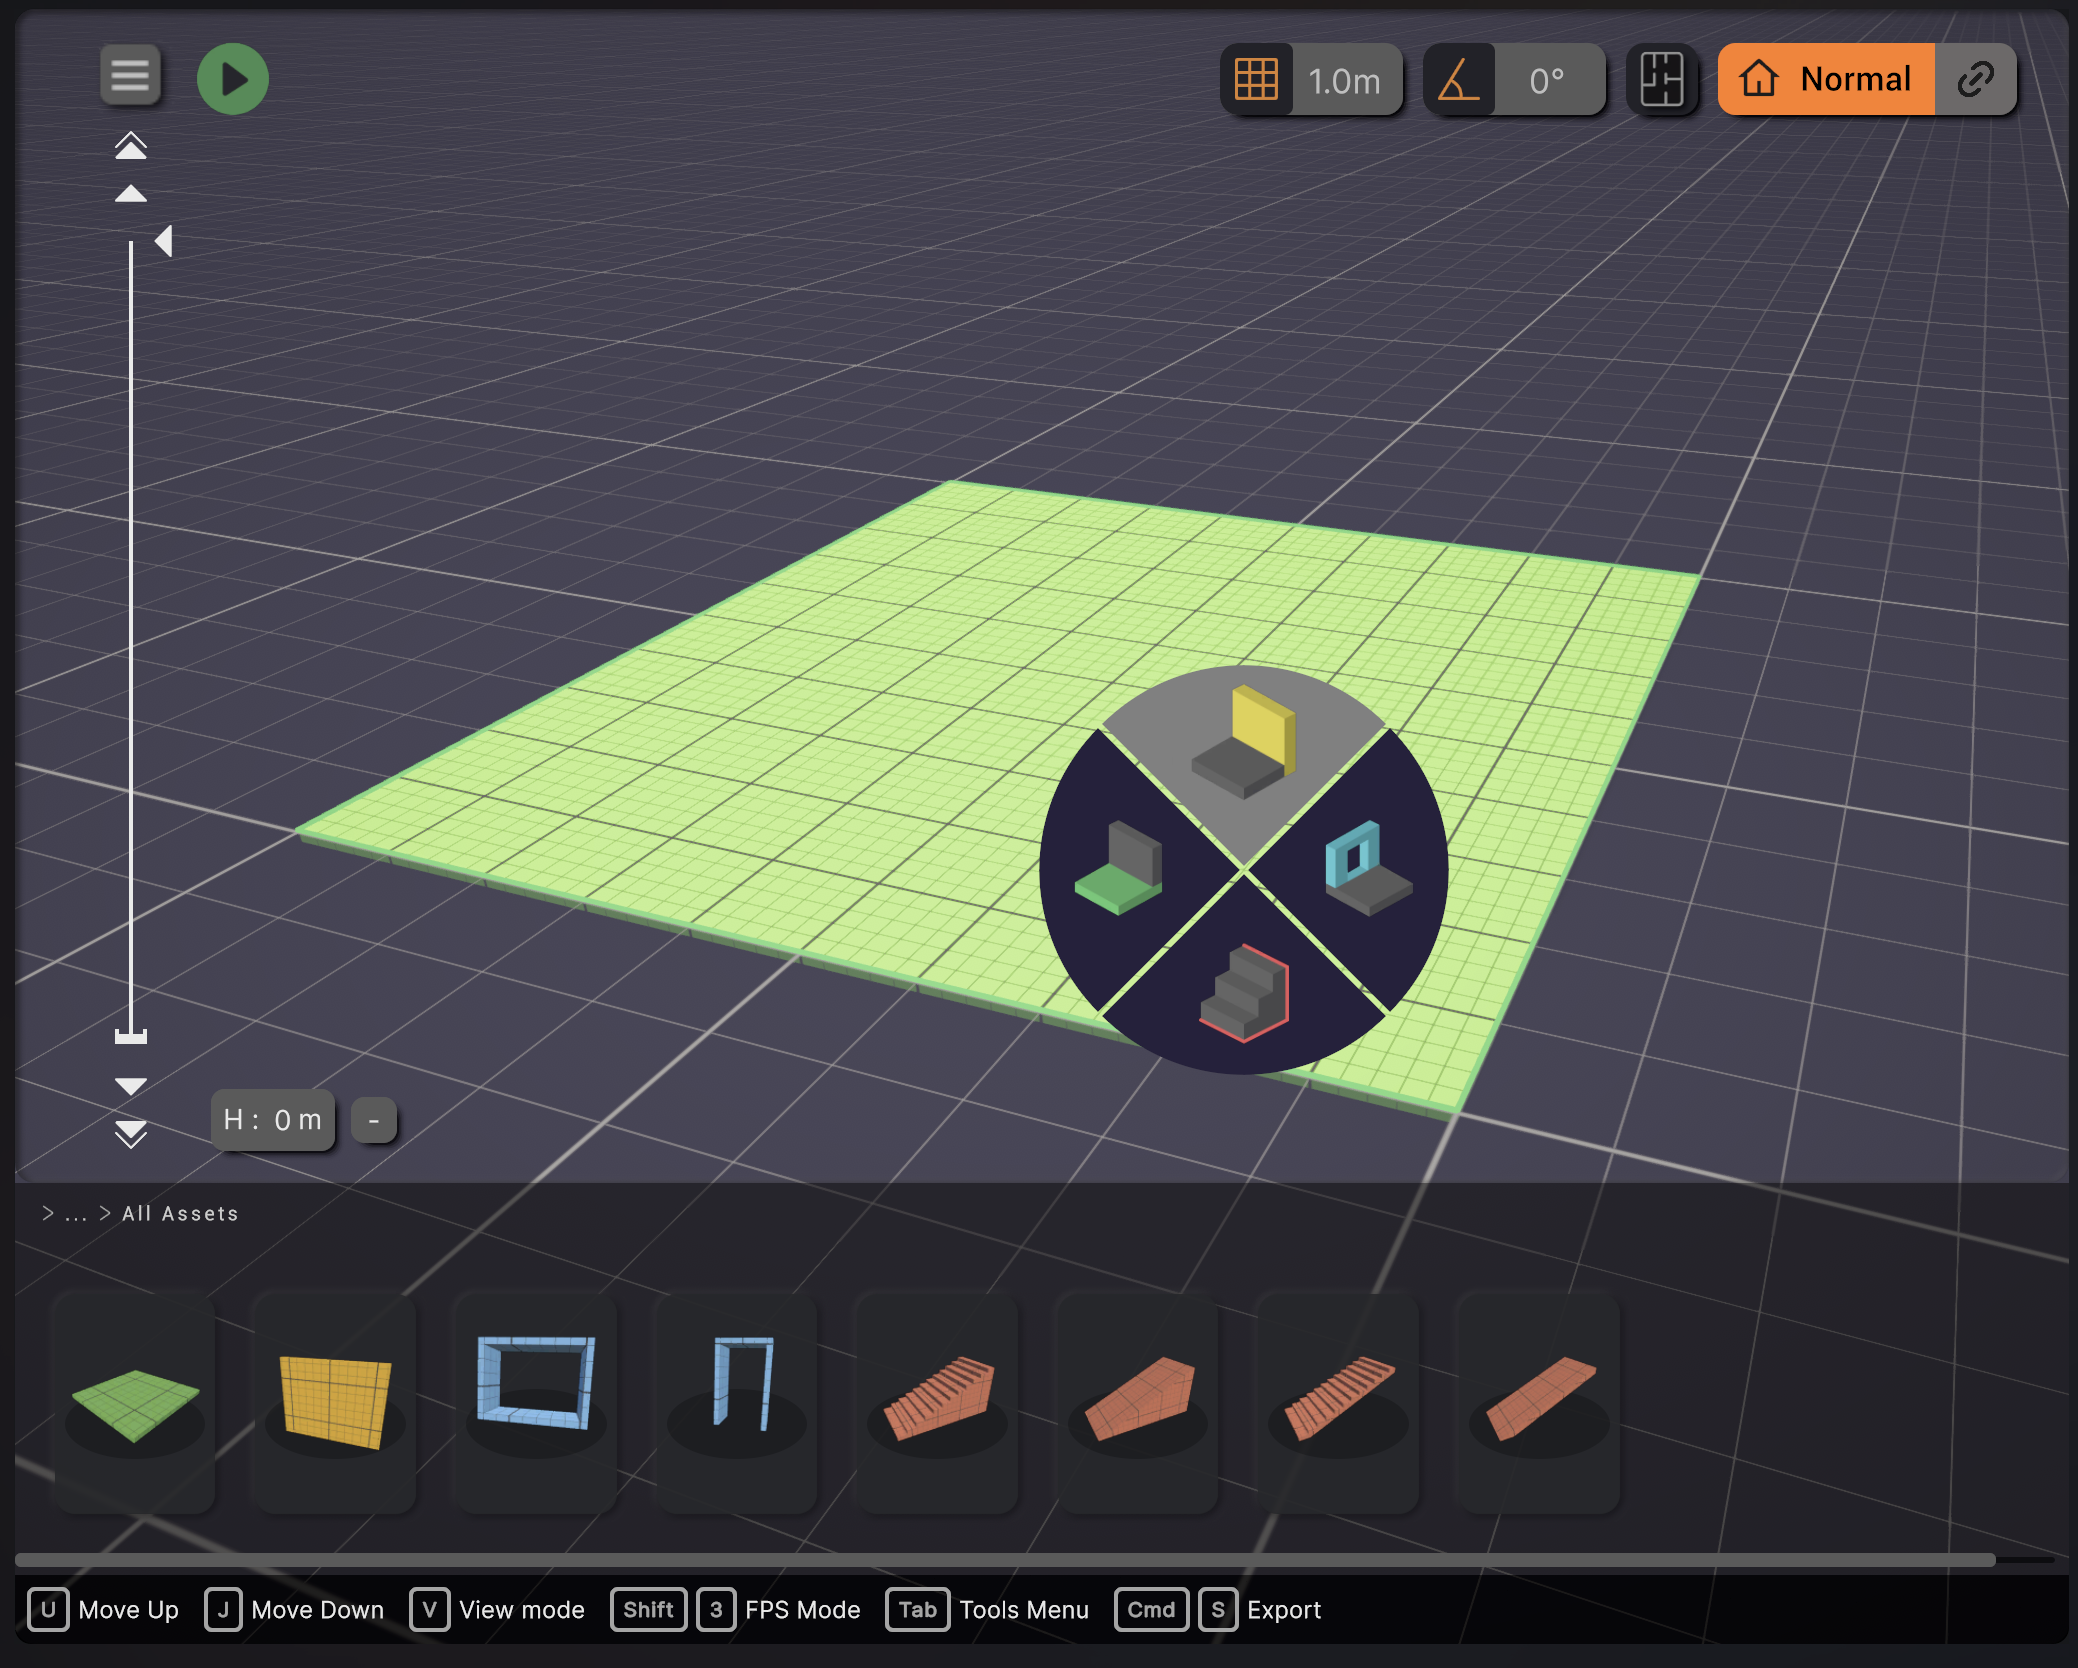
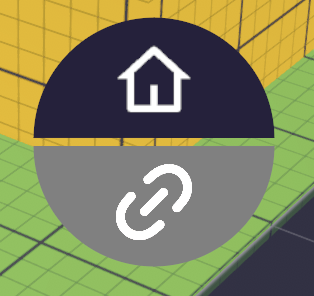
- Start the Blockout: Right-click anywhere in the viewport to open the contextual View Pie Menu right under your cursor. Select the Home Icon (Edition Mode).
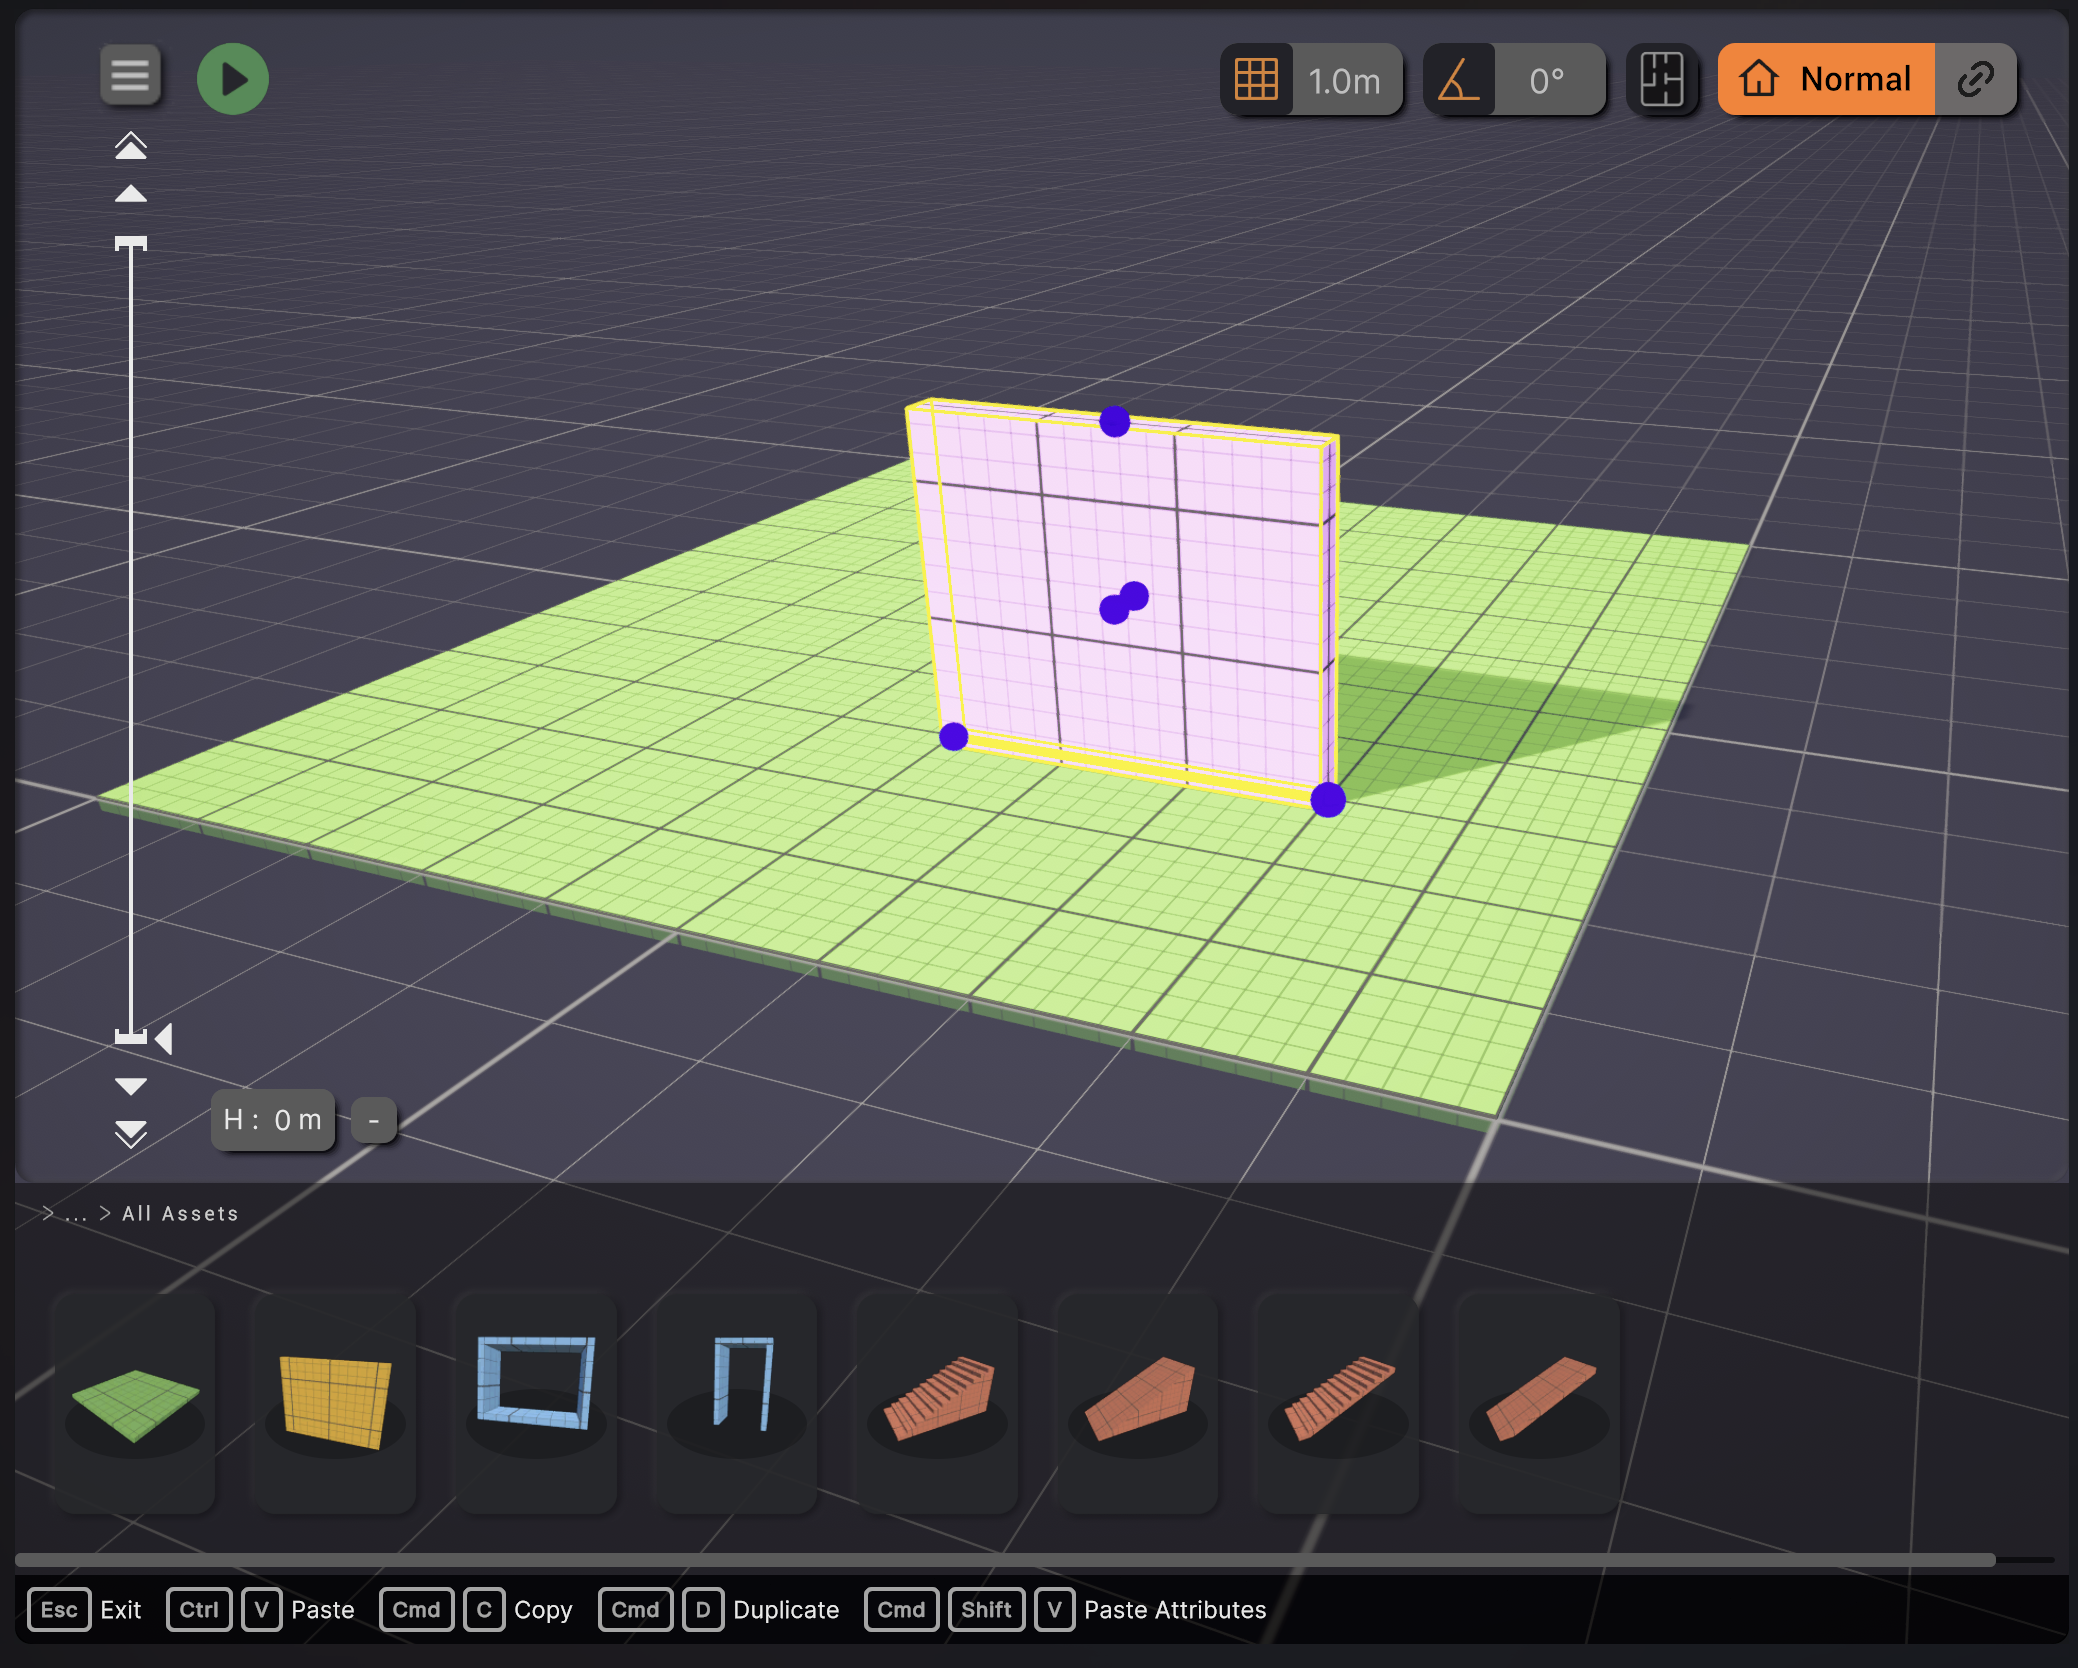
- Placing Assets: You are now free to rapidly prototype, drop shapes, and build your base world. Cygon’s quaternary wheel allows you to select and rotate structural blocks instantly without ever moving your mouse to a distant sidebar menu.
Scaling Up (Adding Verticality)
Now, let’s assume your ground floor is ready and you want to build a sniper balcony or a second floor. Instead of duplicating assets and guessing their height, you use the Height Manager.
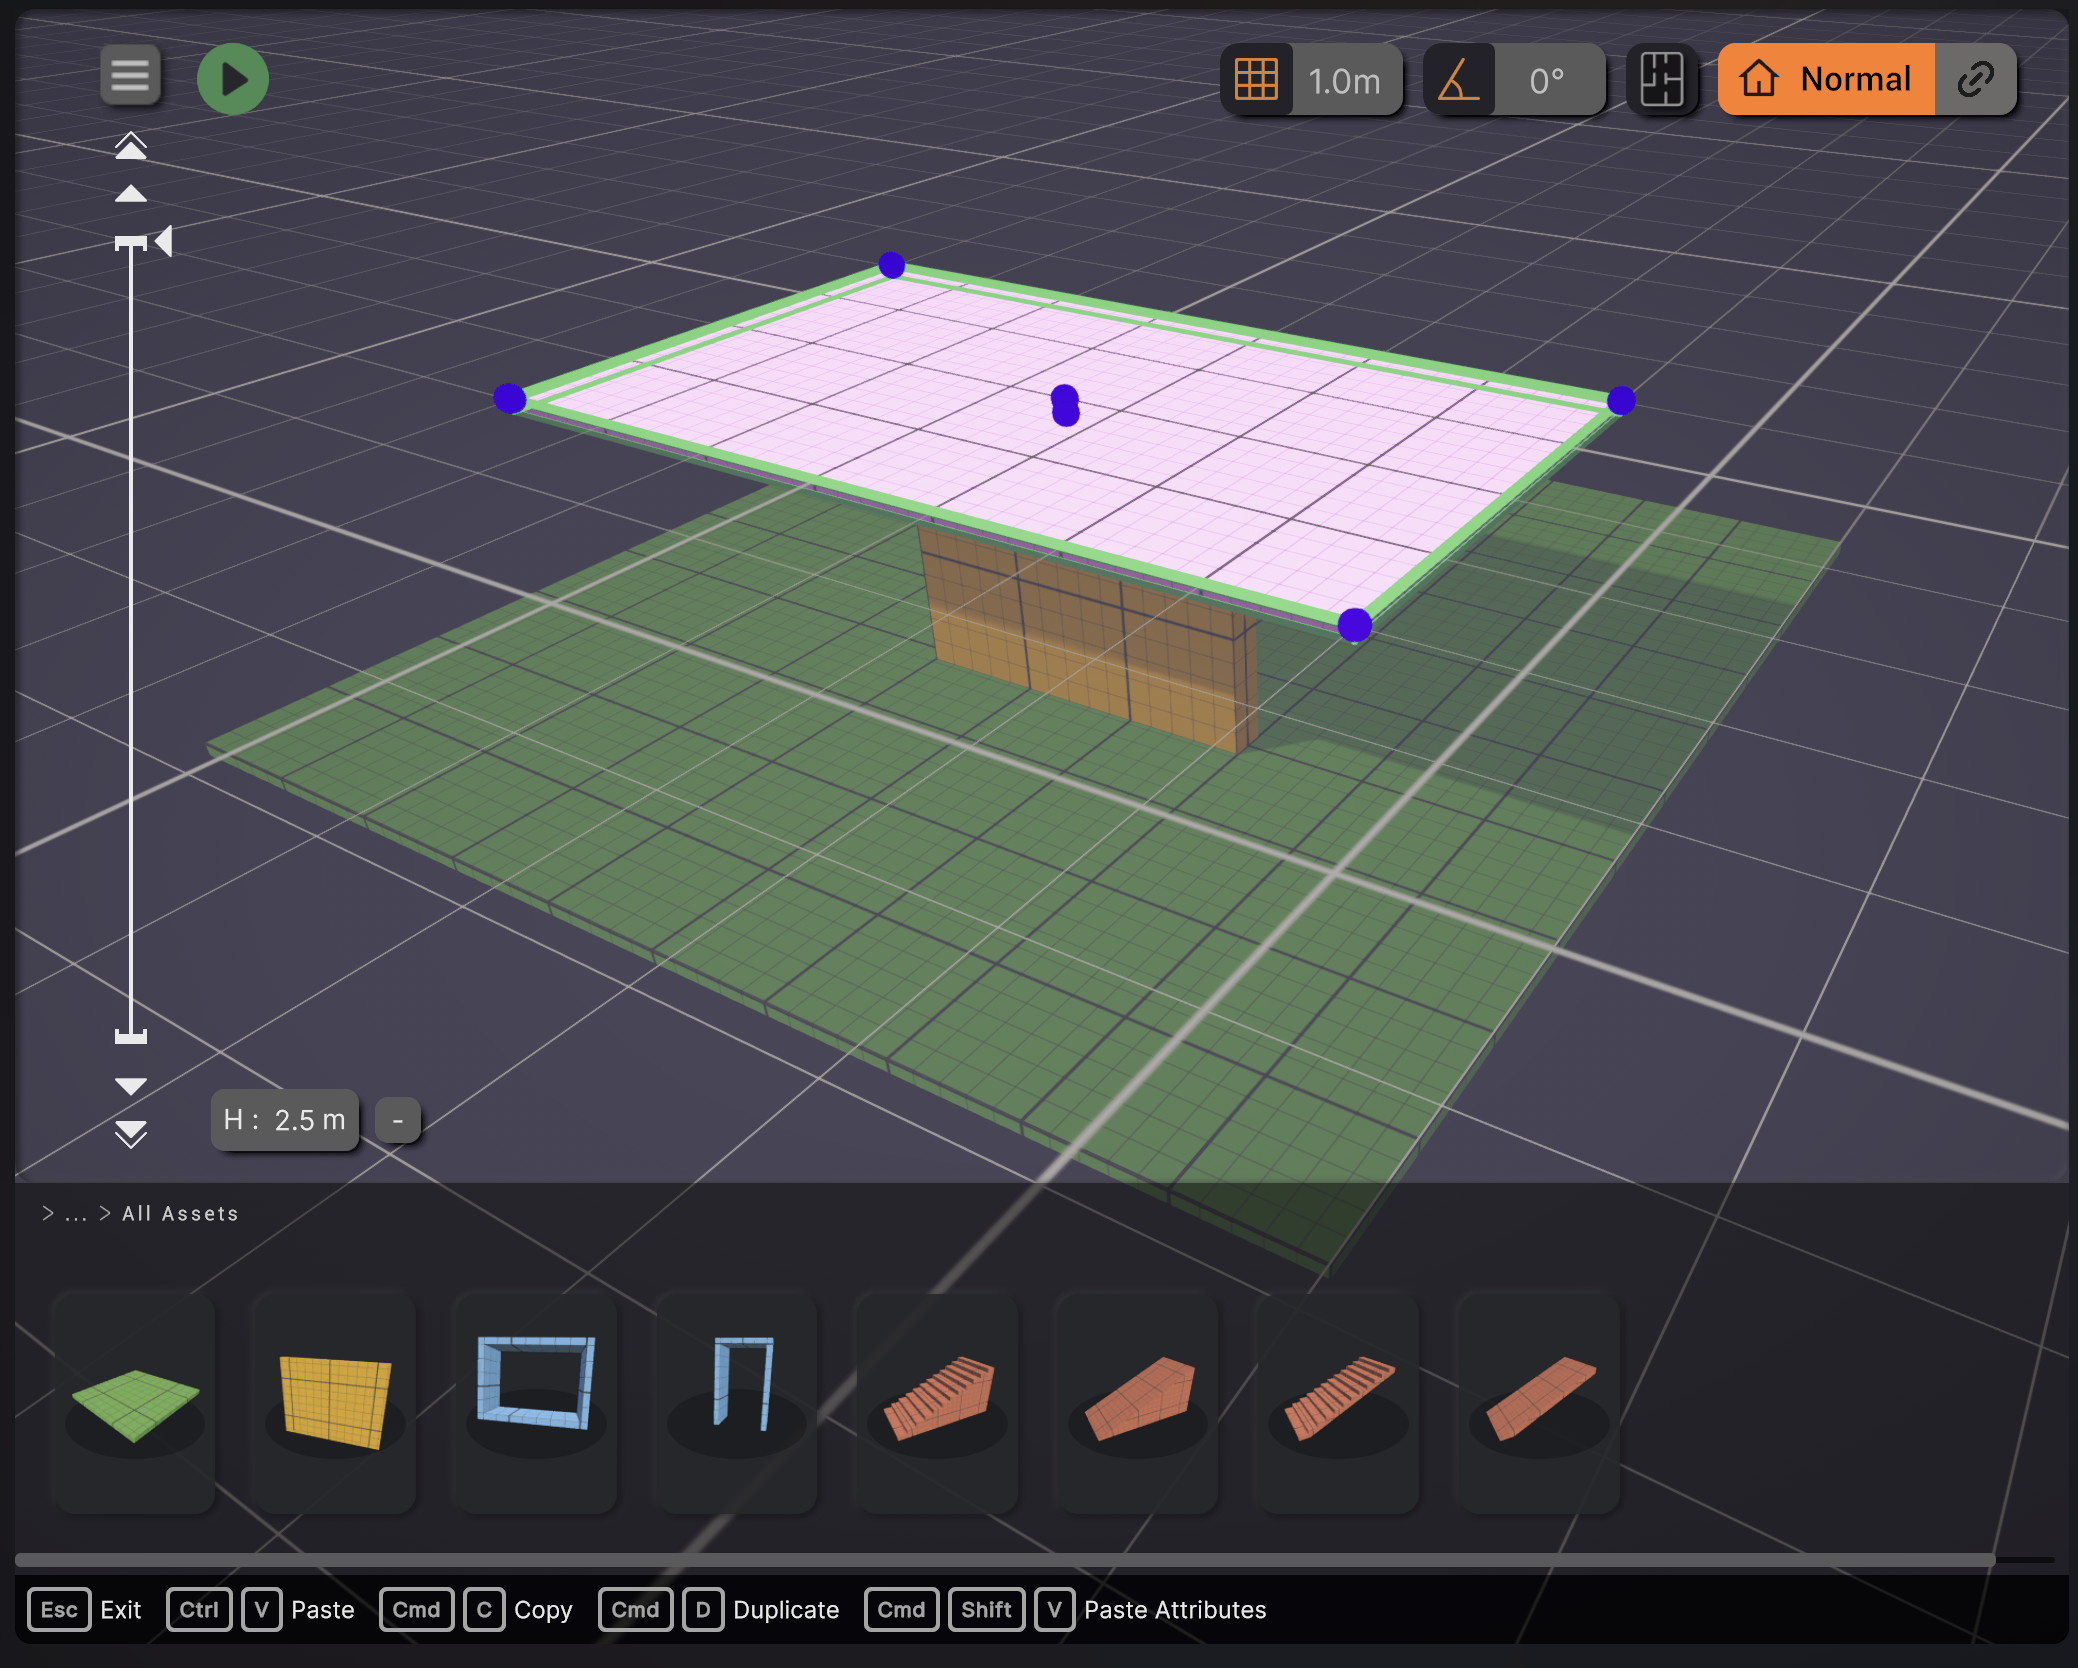
- Sneak Peek Upper Levels: Use the smooth, fluid scroll bar on the side of your screen. Dragging this bar lets you look upwards and visualize higher floors independently without actually shifting your current active editing height.
- Switching Your Active Floor: Ready to build upstairs? Change your active floor level using your preferred method:
- Click directly on a floor layer in the Height Manager bar.
- Type the exact height value into the "H" input window.
- Use the keyboard shortcuts: U to go up, J to go down (or the arrow keys).
- Zero-Error Asset Placement: Once you are on the new floor, start placing your walls. The cursor automatically snaps every 10 cm, with an extra magnetic snap when you perfectly reach a floor level. No more overlapping geometry or floating assets.
Weaving Gameplay & Connectivity (The Link Editor)
A multi-layered map is nothing if players can't navigate it. Now that your second floor is up, you need to add angled walls, stairs, and custom covers, ensuring they perfectly align and snap with the floor below.
- Enter Connectivity Mode: Summon your View Pie Menu again and swipe to the Link Icon (Link Editor). Alternatively, toggle the Chain Link Icon directly in the central workspace header.
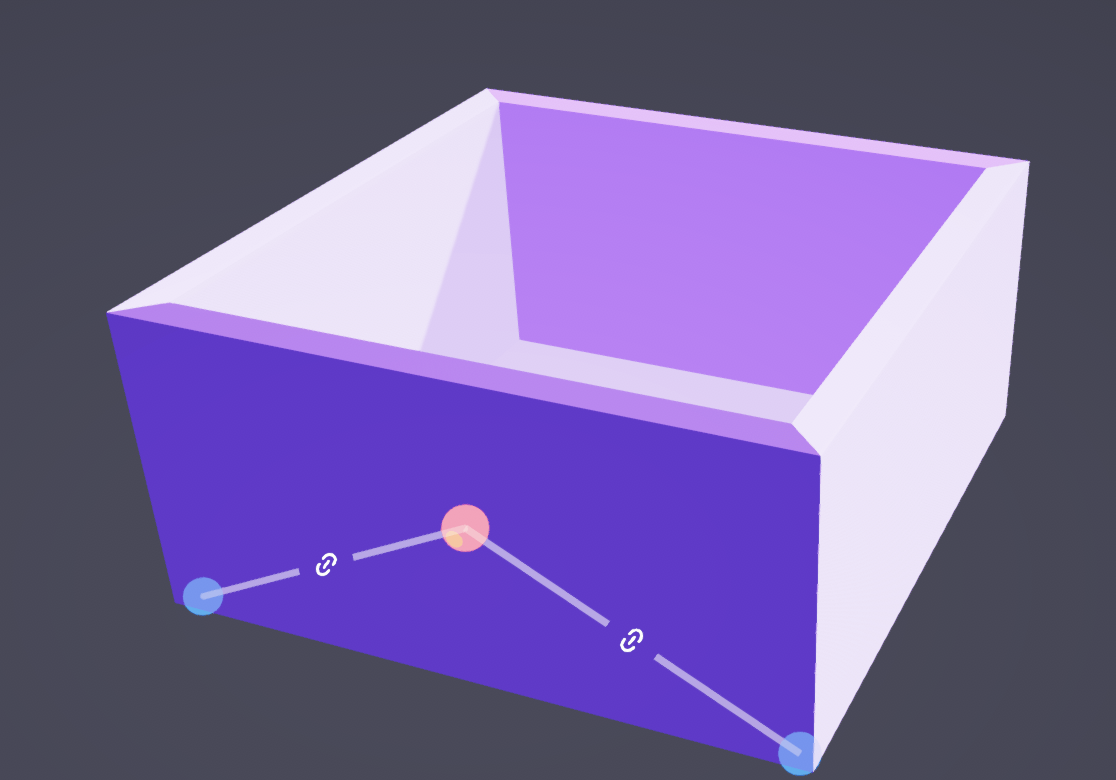
- Bridging the Layers: This mode activates block snapping connectivity across different level layers.
- Safe Tweaks: You can now modify complex choke points, move custom covers, or stretch angled walls. Cygon will dynamically preserve or edit the metric linkages between elements across layers without breaking your global geometry.
Sightline Validation & Polish
Your multi-level building is structurally sound. The final step is to check lines of sight—for instance, making sure a player standing on the ground floor can't exploit a broken angle to see into the sniper balcony.
- Distant Inspection: Scroll far away using the Height Manager to inspect the overall structural silhouette.
- Never Get Lost: If you wander too far off-screen, small Navigation Indicator dots will pop up at the top or bottom of your Height Manager bar, telling you exactly where your active editing floor is hiding.
- Instant Snapback: Don't waste time scrolling back. Click directly on the cursor indicator at those dots to trigger a Quick Return. The system instantly re-centers your viewport back to your active editing level so you can make immediate geometric adjustments.
Start building your next environment today
No credit card. No time limit. Your first blockout is 30 minutes away.